
How To Make Homemade Pizza:Essential Tips and Precautions
Learn how to make homemade pizza with a simple, delicious recipe that rivals your favorite restaurant! This dough is a breeze to prepare and bakes
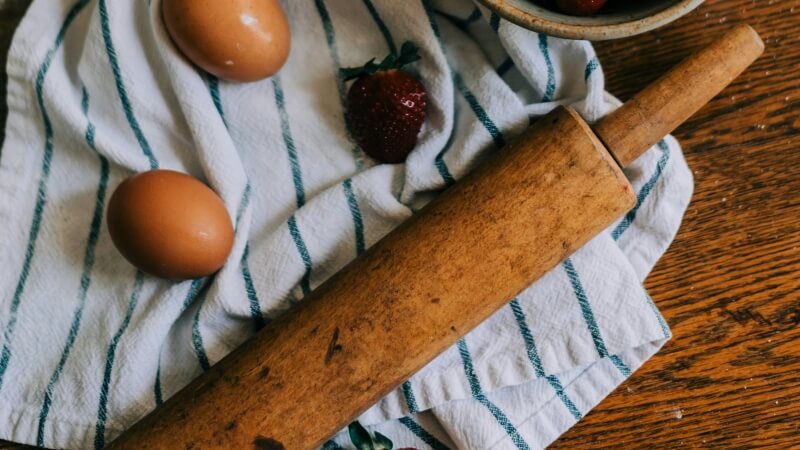
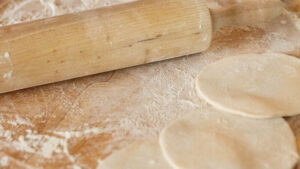
Every baker knows that a rolling pin can be both a best friend and a formidable foe in the kitchen.
Mastering the art of removing it from your dough is crucial for any baking enthusiast. Let’s roll through this guide to ensure your next baking adventure is smooth and stick-free.
Not all rolling pins are created equal – each type has its quirks.
When you think of a rolling pin, you might picture the classic wooden cylinder, but did you know there are several types?
The traditional roller is just the beginning. There’s the French rolling pin, sleek and tapered, ideal for delicate pastry work.
Then there’s the heavy-duty marble rolling pin, perfect for keeping dough cold. Each type requires specific handling and removal techniques, so knowing your tool is the first step to success.
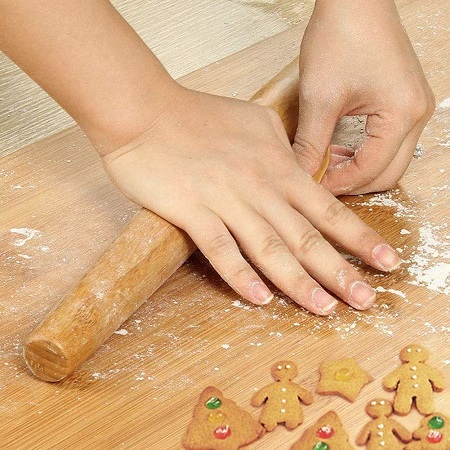
Wooden rolling pins are the most common and versatile. They are perfect for a variety of dough types but require a bit of flour to prevent sticking.
The French rolling pin has no handles and tapers at the ends. It offers more control and is excellent for rolling out pie crusts and other delicate pastries.
Marble rolling pins are heavy and help keep the dough cold, making them ideal for buttery pastry dough. However, their weight can make them more challenging to maneuver.
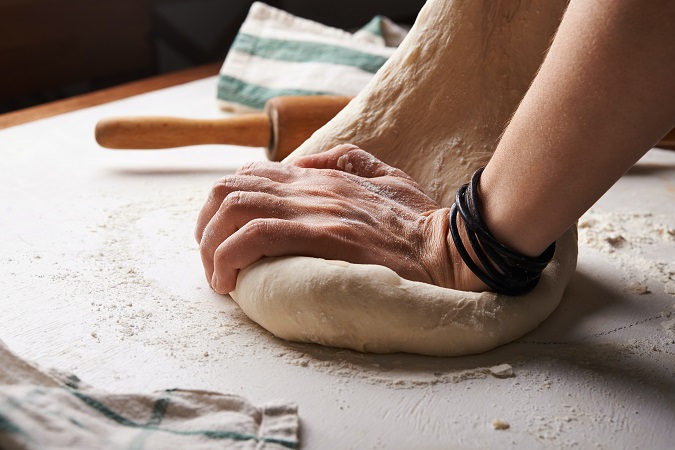
Setting up for success begins long before you start rolling.
A good baker knows that preparation is half the battle. Before you start rolling out your dough, ensure that your workspace is clean and organized.
Have your flour, dough, and rolling pin within easy reach. It’s also important to consider safety, especially when handling heavy marble pins. A slip can not only ruin your dough but also cause injury.
Follow these steps to remove your rolling pin smoothly.
Taking care of your rolling pin ensures it’s always ready for action.
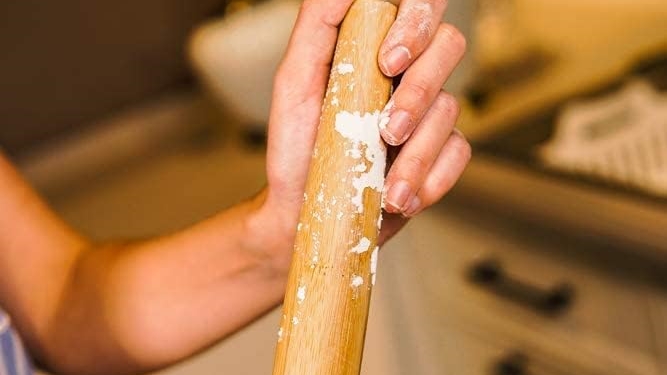
After you’ve finished with your rolling pin, it’s crucial to clean it properly. For wooden and French pins, a quick wipe with a damp cloth is often enough.
Avoid soaking them as water can cause the wood to warp or crack. Marble rolling pins can be washed with mild soap and water but make sure to dry them thoroughly to prevent any water spots or potential mildew in the future.
Regular maintenance also involves checking for any cracks or damage, especially in wooden pins. A well-maintained rolling pin can last for years, becoming a cherished tool in your baking arsenal.
Encounter a sticky situation? Here’s how to solve it.
Sometimes, despite your best efforts, the dough might stick to your rolling pin. This can happen if the dough is too warm or if it’s an exceptionally sticky dough like a brioche. If this happens, don’t panic. Place the dough in the fridge for a few minutes to firm up. You can also try using parchment paper on top of the dough to minimize contact.
Another common issue is handling a heavy marble rolling pin. If it feels unwieldy, try rolling out your dough in smaller sections, giving you more control and reducing fatigue.
Elevate your baking skills with these professional insights.
As you become more comfortable with your rolling pin, you might want to try some advanced techniques.
For instance, when working with a pie crust, use the French pin to roll from the center out in one direction, then turn the dough 90 degrees and repeat.
This technique helps maintain an even thickness and reduces the risk of overworking the dough.
For those using a marble rolling pin, remember that its weight is an advantage. Let the pin do the work for you.
Gentle pressure is often all that’s needed, which helps in achieving a perfectly even crust without overworking the dough.
Practice makes perfect – mastering the rolling pin is an art.
Perfecting the use of a rolling pin is a skill that develops over time. It’s not just about rolling; it’s about feeling the dough and understanding how much pressure to apply.
Each type of dough, whether it’s for biscuits, pies, or pizza, will react differently under a rolling pin. Experiment with different pressures and rolling speeds to find what works best for each type.
For biscuit dough, which is typically softer and more forgiving, a light touch with a wooden rolling pin works best. This ensures that the dough remains fluffy and doesn’t get compressed.
Pie crusts require a bit more finesse, especially when rolling them thin. A French rolling pin is ideal for this task, giving you the control needed for an even, thin crust.
Pizza dough can be more elastic and might fight back a bit. Here, a heavier rolling pin, like a marble one, can help stretch the dough without tearing it.
Your rolling pin isn’t just for flattening dough – get creative!
A rolling pin can be more than just a tool for flattening dough. It can also be used in various creative ways in the kitchen. For instance, you can use it to crush nuts or crackers for a pie crust, or even tenderize meat.
Use the edge of your rolling pin to create decorative patterns on your pie crusts. This simple touch can turn a basic pie into a work of art.
If you’re into making pasta from scratch, your rolling pin can be a great asset. Roll out your pasta dough thinly and evenly for the perfect homemade pasta experience.
Your rolling pin is an investment in your baking future.
Taking care of your rolling pin is essential. Store it in a dry, cool place, away from direct sunlight or moisture. If you have a wooden or French rolling pin, occasionally rubbing it with mineral oil can help preserve its surface.
From understanding the nuances of different types of rolling pins to mastering the removal process, we’ve covered the essentials to make your baking process as smooth as the dough you’re rolling.
Remember, practice makes perfect, and with these tips, your rolling pin will soon become your most trusted tool in the kitchen. Happy baking!
How do I choose the right rolling pin for my baking needs?
When selecting a rolling pin, consider the type of baking you do most. For versatile use, a traditional wooden pin is a great choice. If you work with pastry often, a French rolling pin might be better. For doughs that need to stay cold, like puff pastry, opt for a marble pin.
Can I repair a cracked wooden rolling pin, or should I replace it?
Small cracks in a wooden rolling pin can sometimes be repaired with food-safe wood glue. However, if the crack is large or the pin has multiple cracks, it’s safer and more effective to replace it to ensure even pressure during rolling.
Is it necessary to chill a marble rolling pin, and how do I do it?
Chilling a marble rolling pin is beneficial when working with doughs that need to stay cold. To chill it, simply place the rolling pin in the refrigerator for about 30 minutes before use. This will help keep your dough from getting warm and sticky.
How can I prevent my rolling pin from warping over time?
To prevent warping, avoid exposing your rolling pin to extreme temperatures or moisture. Store it in a cool, dry place, and never soak a wooden pin in water. Regularly oiling a wooden pin can also help maintain its shape and integrity.
Are there any innovative ways to use a rolling pin beyond traditional baking?
Absolutely! A rolling pin can be a versatile tool in the kitchen. Use it to crush spices, nuts, or crackers for toppings and crusts. You can also use it to help tenderize meats or even as a makeshift panini press when cooking on a griddle.

Learn how to make homemade pizza with a simple, delicious recipe that rivals your favorite restaurant! This dough is a breeze to prepare and bakes

Have you ever felt like a screaming cat in the kitchen, especially when your biscuit attempts seem more like baking blunders? Well, it’s time to

As the holiday season approaches, the charm of Christmas decorating candy becomes irresistible. It’s not just about the sweetness; it’s about adding a personal touch
A rolling pin is not just a baking tool; it’s an extension of a baker’s creativity. When it comes to DIY embossed rolling pins, the

Learn how to make homemade pizza with a simple, delicious recipe that rivals your favorite restaurant! This dough is a breeze to prepare and bakes

Have you ever felt like a screaming cat in the kitchen, especially when your biscuit attempts seem more like baking blunders? Well, it’s time to
Every baker knows that a rolling pin can be both a best friend and a formidable foe in the kitchen. Mastering the art of removing

As the holiday season approaches, the charm of Christmas decorating candy becomes irresistible. It’s not just about the sweetness; it’s about adding a personal touch